 Save
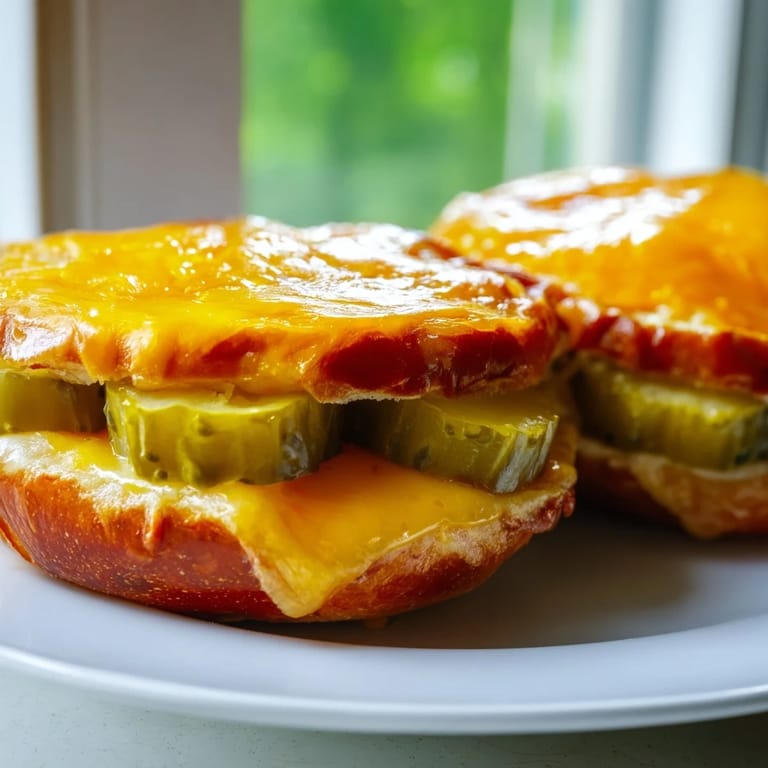
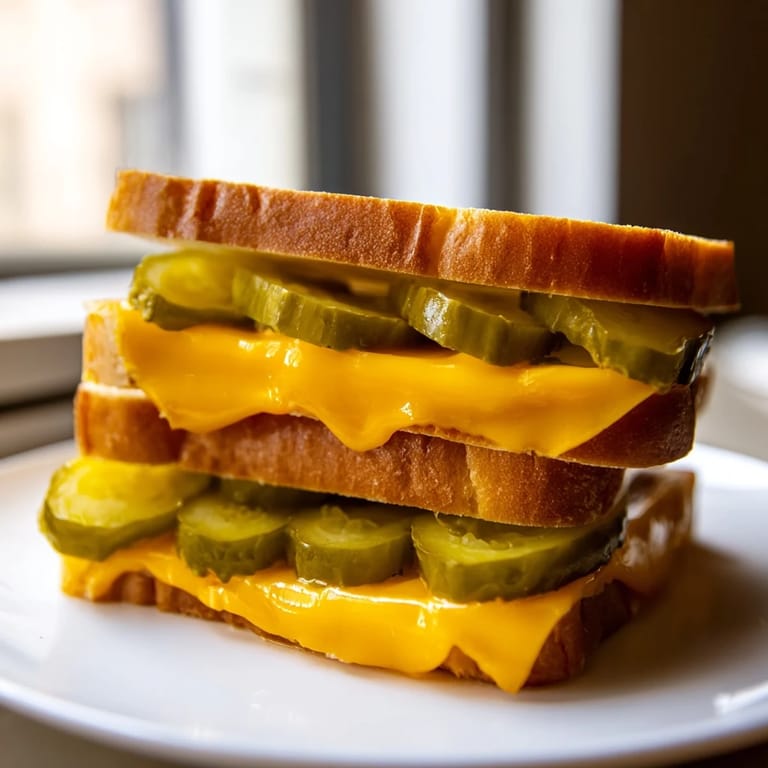
Save My neighbor casually mentioned she'd been experimenting with cheese as a bread substitute, and I'll admit I was skeptical until she handed me a warm, crispy cheddar slice folded around a pickle. That single bite changed everything—tangy, crunchy, perfectly savory—and suddenly I understood why she'd been tinkering with the idea all week. The simplicity of it felt like discovering a secret that had been hiding in plain sight the whole time.
I made this for a casual lunch with a friend who'd been trying low-carb eating, and watching her face light up when she bit into that warm, browned cheese surrounding the pickle was worth every second. She asked for the recipe before she'd even finished the first sandwich, which tells you everything you need to know about how addictive this combination is.
Ingredients
- Sharp cheddar cheese slices: Look for slices that are about ¼ inch thick and roughly 3–4 inches wide; thinner slices will crisp too quickly at the edges while thicker ones won't melt evenly.
- Sandwich pickle slices: Long dill pickle slices work best because they distribute the tangy flavor across the whole bun; make sure to pat them dry with paper towels or the moisture will steam your cheese instead of crisping it.
- Mayonnaise and Dijon mustard: These optional condiments add a creamy, sharp bite that plays beautifully against the salt of the cheese and pickle.
- Tomato slices: A thin layer adds freshness without weighing down the structure; too much moisture will make the cheese bun soggy.
- Deli turkey or ham: Keep this optional addition thin and layered lightly so it doesn't overpower the cheese-pickle dynamic.
Tired of Takeout? 🥡
Get 10 meals you can make faster than delivery arrives. Seriously.
One email. No spam. Unsubscribe anytime.
Instructions
- Heat your oven and prepare the stage:
- Preheat to 400°F and line a baking sheet with parchment paper or a light spray of nonstick cooking spray. You want a non-stick surface so the cheese doesn't stick or burn unevenly on the bottom.
- Build the cheese-pickle foundation:
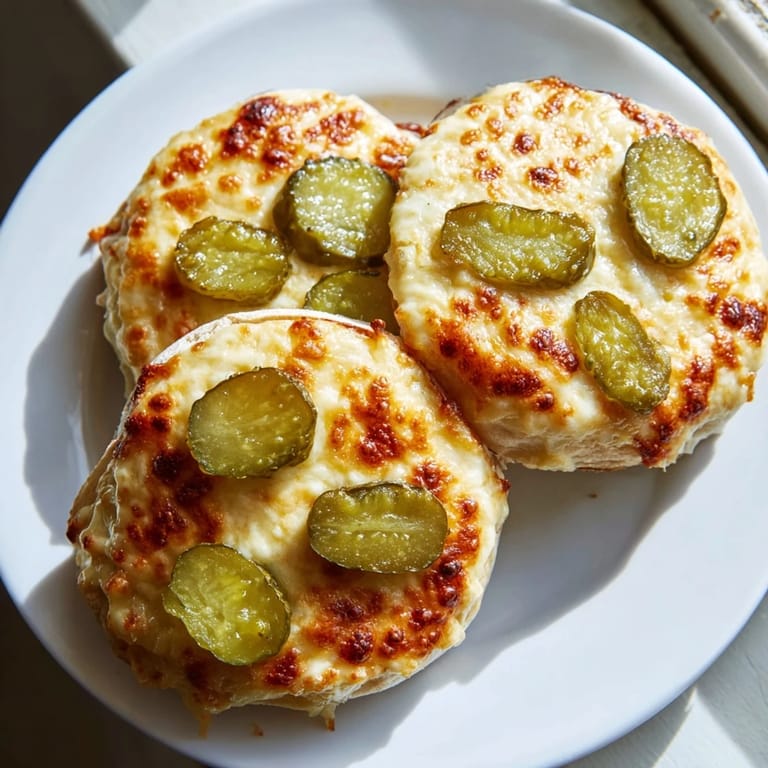
- Arrange 4 cheddar slices on your sheet with some space between each one, then lay your drained pickle slices in overlapping rows right on top of the cheese. The pickles should cover most of the cheese to keep it from puffing up unevenly.
- Create the cheese sandwich:
- Place another cheddar slice on top of each pickle layer and press gently so everything bonds together as it melts. You're essentially creating a savory cheese-pickle-cheese package that will fuse into one crispy, melted unit.
- Bake until golden and bubbly:
- Bake for 7–8 minutes, watching for the edges to turn golden brown and the cheese to bubble slightly in the center. The exact time depends on your oven and how thick your cheese slices are, so trust your eyes more than the timer.
- Let it rest and set:
- Remove from the oven and give the cheese buns about 5 minutes to cool and firm up enough to handle without falling apart. This resting period is crucial; the cheese needs to set slightly so it holds together when you add fillings.
- Add optional fillings:
- If you're using mayo, mustard, tomato, or deli meat, spread or layer them lightly on the inside of each cheese bun. Go easy with wet ingredients like mayo so the bun stays crispy rather than soggy.
- Assemble and serve:
- Press two cheese-pickle buns together with your fillings in between, slice if you want to make it neater, and serve immediately while everything is still warm and the cheese has that perfect crispy-creamy texture.
 Save
Save My family now requests these for weekend lunches, and there's something deeply satisfying about handing someone a warm, homemade sandwich that tastes completely different from anything they've ever eaten. It's become one of those recipes that turns a simple afternoon into something a little bit special.
Why This Works for Low-Carb Living
For anyone cutting carbs, this recipe feels like cheating because it's so satisfying and crunchy, yet it delivers almost none of the blood-sugar spike you'd get from traditional bread. The sharpness of the cheddar combined with the vinegary tang of the pickles creates a complex flavor profile that makes your brain feel like you're eating something indulgent, even though you're working with just cheese and vegetables.
Flavor Variations to Try
Once you master the basic cheese-pickle combination, the possibilities expand quickly. I've swapped in Swiss cheese for a milder, slightly nuttier flavor, tried provolone for something richer, and even experimented with different pickle styles like spicy dill or bread-and-butter pickles depending on my mood.
Storage and Reheating Tips
These cheese buns are best enjoyed fresh and warm, but you can store any leftovers in an airtight container for up to two days. To restore the crispness, pop them into a toaster oven at 350°F for about 3–4 minutes rather than microwaving, which will turn them rubbery.
- For extra crunch and freshness, add a handful of shredded lettuce right before serving.
- Try hot pickles or add sliced jalapeños if you want a spicy kick that plays against the creamy cheese.
- These cook quickly, so have all your fillings prepped and ready before you pull the cheese buns from the oven.
 Save
Save This recipe taught me that sometimes the best culinary discoveries come from the simplest combinations and the willingness to question what bread has to be. Now I make these whenever I want something quick, satisfying, and completely unexpected.
Cooking Questions & Answers
- → What type of cheese works best for the buns?
Sharp cheddar holds shape well and crisps beautifully, but Swiss or provolone can add different flavors.
- → How can I keep the buns from sticking?
Use parchment paper or lightly spray the baking sheet with nonstick spray before arranging cheese slices.
- → Can I make this sandwich vegetarian?
Yes, omit deli meats and use cheese and pickles alone for a satisfying vegetarian snack.
- → What pickles are recommended for best flavor?
Long dill pickle slices drained and patted dry work best for crunch and tang.
- → How do I achieve a crispy texture in the cheese buns?
Bake the cheese layers until bubbly and golden brown, then let cool to set before handling.