 Save
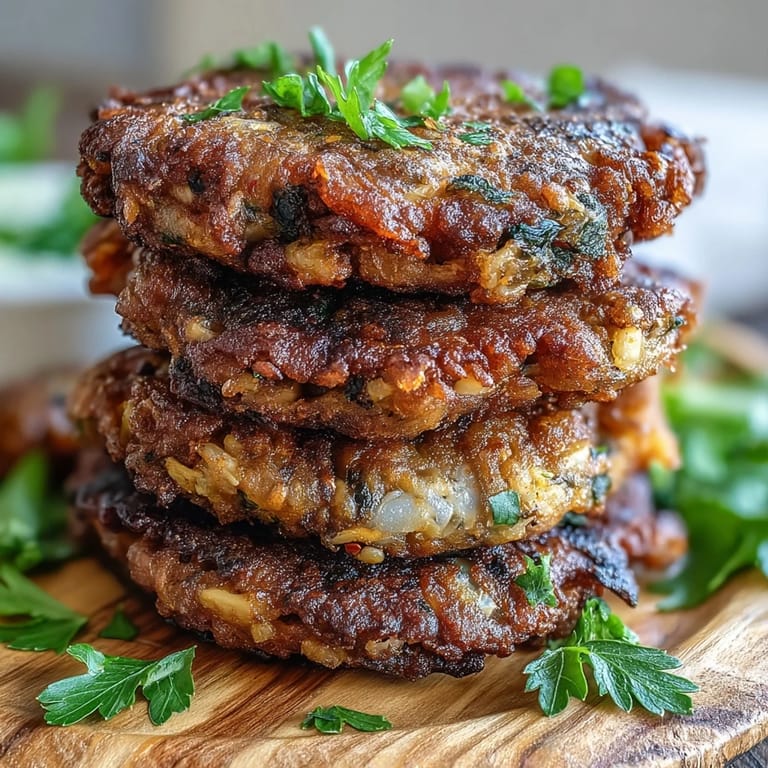
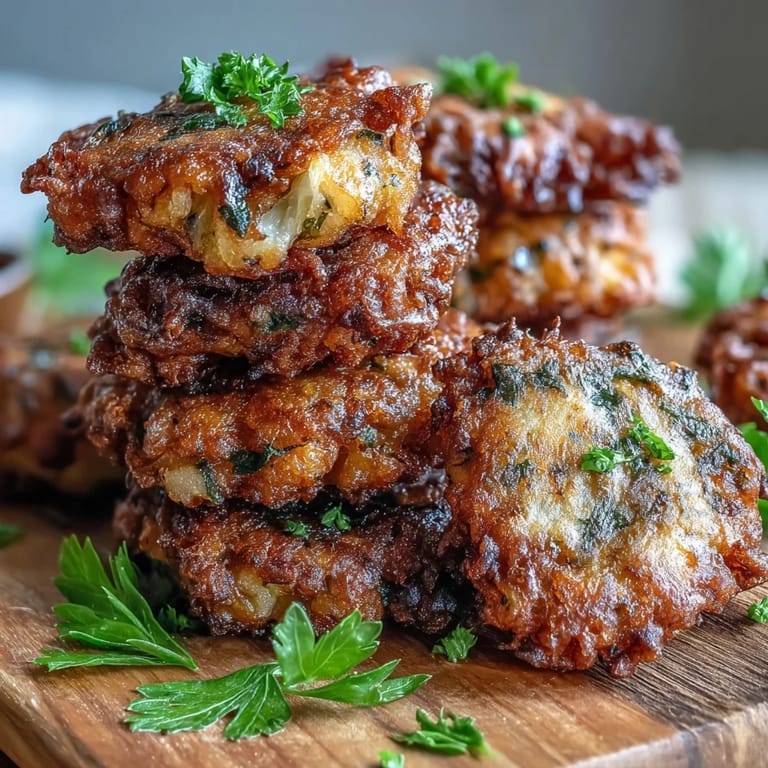
Save My neighbor handed me a warm fritter through her kitchen window one Saturday morning, still glistening with oil, and I bit into it without thinking twice. The outside crackled between my teeth while the inside stayed tender and earthy, nothing like the heavy fried foods I'd been avoiding. She laughed when I asked for the recipe, saying it came from her grandmother's kitchen in West Africa, passed down through phone calls and kitchen visits. Now whenever I make these black-eyed pea fritters, that moment of discovery comes rushing back, and I understand why she'd shared something so personal without hesitation.
I made these for a potluck once and watched people reach for a second fritter before finishing their first bite, which is always the moment you know you've nailed something. A coworker stood by the table asking what was in them because she thought they'd been store-bought, and when I told her it was just mashed beans and pantry staples, she demanded the recipe right there. That's when I realized these fritters have a quiet confidence about them—they don't need fancy ingredients or complicated techniques to win people over.
Ingredients
- Cooked black-eyed peas (2 cups, drained): These are the heart of everything, providing earthiness and natural binding power without any fancy additions.
- Small onion, finely chopped: Onions break down as they fry and release their sweetness, creating tiny flavor pockets throughout each fritter.
- Garlic (2 cloves, minced): A small amount goes a long way here because it intensifies once the fritters hit the oil.
- Fresh parsley or cilantro (2 tablespoons, chopped): This keeps the fritters from tasting one-dimensional and adds a brightness that cuts through the richness of frying.
- Large eggs (2): They act as the binder that holds everything together without making the texture dense or rubbery.
- All-purpose flour (3/4 cup): Just enough to give the batter structure without making it heavy or dry inside.
- Salt and black pepper: Season generously here because the peas themselves are mild and need the support.
- Smoked paprika and cayenne (1/2 teaspoon and 1/4 teaspoon): These are optional but absolutely worth the small effort—they add warmth and depth without making the fritters spicy in a way that overshadows everything else.
- Vegetable oil for frying: Use something neutral like canola or vegetable oil so the peas stay the star of the show.
Tired of Takeout? 🥡
Get 10 meals you can make faster than delivery arrives. Seriously.
One email. No spam. Unsubscribe anytime.
Instructions
- Mash the peas with intention:
- Use a fork or potato masher and aim for mostly smooth with some texture remaining—you want the fritters tender on the inside, not dense. This texture difference is what separates a great fritter from a sad bean patty.
- Build the batter:
- Fold in everything at once and mix just until combined, resisting the urge to overmix because that toughens the structure. The batter should be thick enough to hold its shape when you scoop it, not pourable like pancake batter.
- Heat the oil properly:
- About 1/2 inch in a large skillet over medium heat is the sweet spot—too shallow and they won't develop that golden crust, too deep and they absorb oil instead of frying. A drop of batter should sizzle immediately, not hesitate.
- Fry without crowding:
- Use a spoon to gently drop heaping tablespoons into the oil, then flatten slightly with the back of the spoon for even cooking. Working in small batches keeps the oil temperature steady, which is the difference between crispy and greasy.
- Watch for the golden moment:
- Fry for 2 to 3 minutes per side until deep golden brown—this is where patience matters because rushing it leaves them pale and greasy. The second side always cooks faster, so don't leave them unattended.
- Drain and serve:
- Transfer to paper towels immediately so excess oil drains away while they're still warm. Serve them as soon as they cool just enough to handle, because they're best when they still have some warmth to them.
 Save
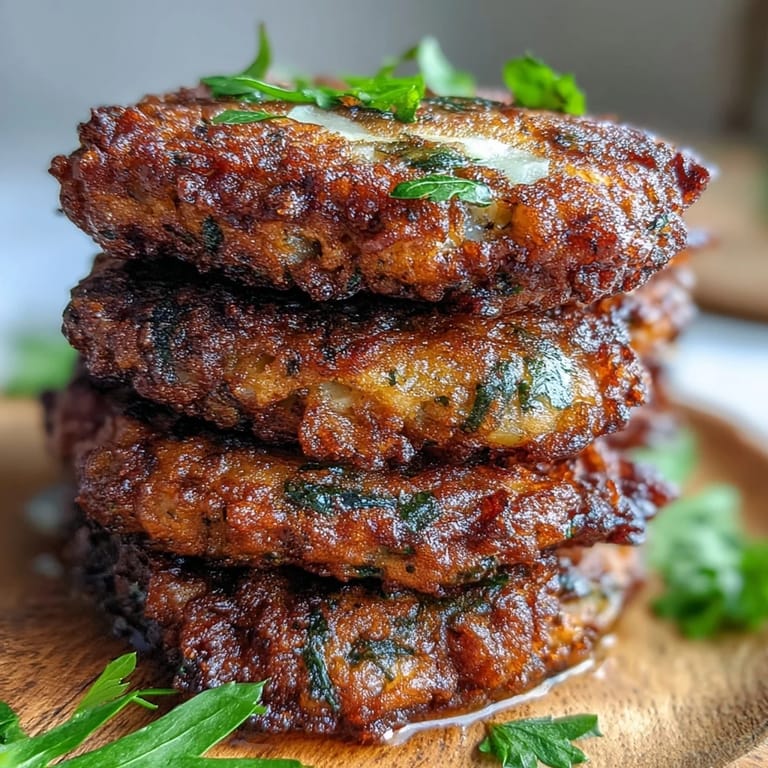
Save These fritters taught me something unexpected about cooking for people who grew up with different food traditions than mine. When I made them for the first time and served them to my neighbor's family, I watched three generations eat them the same way—with their hands, dipped in sauce, sometimes dunked in palm wine or shared between bites of conversation. That's when food stopped being about technique and started being about belonging.
The Secret to Crispy Edges
The moment when your oil is truly ready is unmistakable if you know what to listen for—there's a specific crackling sound when that first spoonful hits the heat, almost like tiny firecrackers going off. I learned this by standing too close to the skillet and getting my eyebrows singed, but now I can tell by sound alone when everything is aligned. That sound is your kitchen's way of saying you're about to make something golden.
Flavor Variations Worth Exploring
Once you master the basic fritter, there's so much room to play without losing what makes them special. Some days I add cumin or a pinch of fenugreek, other times I chop scallions instead of parsley and suddenly they taste like something my hands have never made but somehow remember. The black-eyed peas are forgiving enough to accept whatever seasonal vegetables or herbs are sitting on your counter.
Serving Suggestions That Actually Work
These fritters are happiest when they have something to nestle into—a yogurt dip mixed with fresh herbs, hot sauce that makes you pause before the next bite, or even mango chutney if you're feeling adventurous. I've served them as party appetizers, packed them into lunch containers for the next day, and even crumbled them into salads when I was trying to use leftovers creatively. The best serving method is whatever keeps them warm and within arm's reach because they never last long once people realize what they're eating.
- A simple yogurt sauce with fresh dill or cilantro balances the richness perfectly and feels less heavy than cream-based dips.
- Hot sauce or sriracha cuts through the earthiness and adds a brightness that makes you want another one immediately.
- Serve them warm because that's when the contrast between the crispy exterior and tender interior is most dramatic and most memorable.
 Save
Save These black-eyed pea fritters have become my answer whenever someone asks for something quick, impressive, and genuine all at once. They remind me that the best recipes aren't complicated—they're the ones that make people want to gather closer.
Cooking Questions & Answers
- → Can I use canned black-eyed peas?
Yes, canned black-eyed peas work perfectly. Rinse and drain them thoroughly before mashing to remove excess liquid and canned flavor.
- → How do I make these gluten-free?
Substitute all-purpose flour with chickpea flour or a gluten-free flour blend. The texture remains excellent and creates an even nuttier flavor profile.
- → Can I bake these instead of frying?
Baking is possible but won't achieve the same crispy exterior. Brush with oil and bake at 400°F for 20-25 minutes, flipping halfway through cooking.
- → How long do these fritters keep?
Best served immediately while hot and crispy. Leftovers can be stored in the refrigerator for 2-3 days and reheated in an oven or air fryer to restore crispiness.
- → What dipping sauces work well?
These pair beautifully with yogurt-based dips, spicy hot sauce, sweet mango chutney, or even a simple herb aioli. The mild flavor complements both cooling and spicy condiments.
- → Can I freeze the uncooked batter?
Yes, scoop portions onto a baking sheet and freeze until solid. Transfer to a freezer bag for up to 3 months. Fry directly from frozen, adding extra cooking time.